
What Is a Pop-Up Emitter?
Installation, Troubleshooting, and Winter Freeze Guide
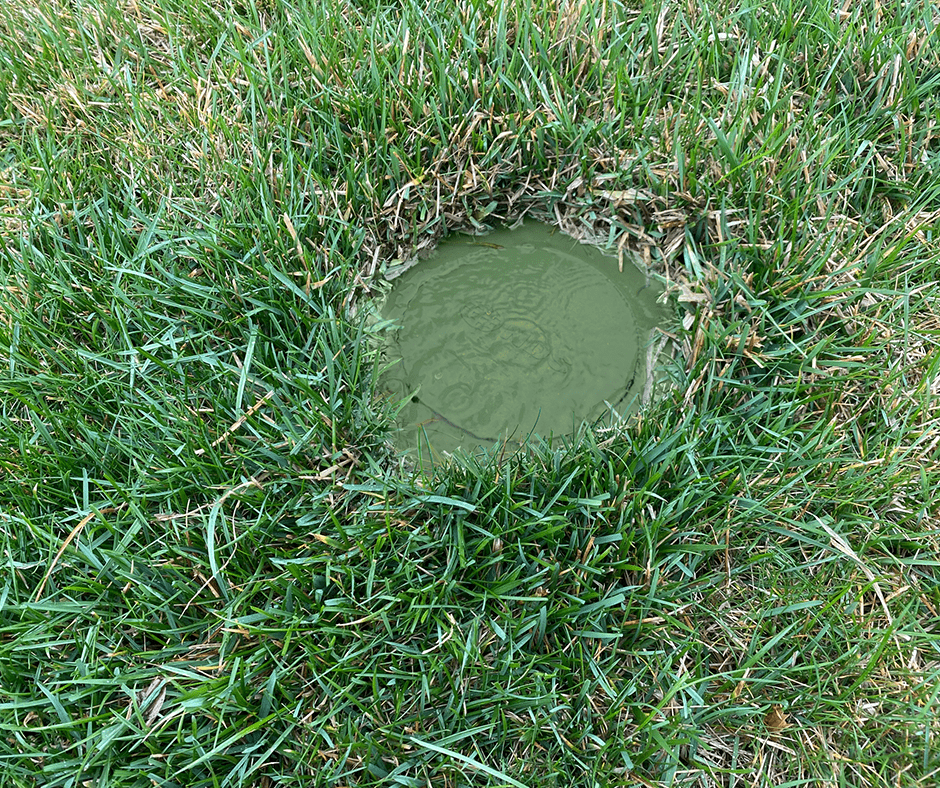
Many drainage systems do a great job moving water away from problem areas underground, but that water still needs a place to go. That's where a pop-up emitter comes in.
If you've installed a French drain, connected your downspouts to an underground drainage pipe, or added catch basins to your yard, chances are you'll eventually need a discharge point where the collected water can exit. A properly installed pop-up emitter provides a simple, reliable way to release water safely downstream while helping keep debris and animals from entering the drainage system.
In this guide, we'll explain what a pop-up emitter is, how it works, where it's used, how to install one, common troubleshooting tips, and how to keep it functioning properly during freezing winter weather.
What is a pop-up emitter?
A pop-up emitter is a drainage discharge device installed at the end of an underground drainage pipe. It stays closed when water is not flowing and automatically opens when water reaches the emitter or outlet.
As water travels downstream through the drainage system, the water pressure builds, and the pressure lifts the emitter cap and allows water to exit. Once the water pressure drops off, the cap closes again.
This simple design and the closed position of the emitter help protect the drainage pipe from:
- Leaves and yard debris
- Rodents and other small animals
- Insects
- Soil buildup
Because the emitter sits nearly flush with the ground, it also creates a cleaner appearance than an exposed pipe outlet.
How does a pop-up emitter work?
Pop-up emitters are surprisingly straightforward. The system relies on water pressure created by runoff moving through the drainage pipe. This quick video provides an overview of how to release water using a pop-up emitter.
Step 1: Water enters the drainage system
Water may enter from:
- Roof downspouts
- Catch basins
- Area drains
- French drains
- Landscape drainage systems
Step 2: Water travels underground
The water flows through a solid drainage pipe toward the discharge location or outlet, such as the pop-up emitter.
Step 3: Water reaches the emitter
As water reaches the outlet, pressure builds beneath the emitter cap.
Step 4: The cap opens
The water pressure behind the cap automatically lifts the cap, allowing water to discharge onto the surface.
Step 5: The cap closes
Once water flow stops, gravity (or in some cases a spring) closes the cap.
Think of a pop-up emitter as a one-way exit door for your drainage system. It opens only when needed and remains closed the rest of the time.
Why are pop-up emitters used?
A pop-up emitter may seem like a small component, but it performs several important functions.
Creates a safe discharge point
Every drainage system needs a place to release collected water. A pop-up emitter provides a controlled location where water can safely exit.
Helps keep debris out
Open pipe outlets can quickly become clogged with:
- Leaves
- Grass clippings
- Mulch
- Dirt
A closed emitter helps reduce this problem.
Discourages animals
Rodents, snakes, frogs, and insects often find open drainage pipes attractive. The closed cap helps prevent unwanted visitors from entering the system.
Maintains landscape appearance
Many homeowners prefer the cleaner look of a pop-up emitter compared to a visible pipe sticking out of the ground.
Common applications for pop-up emitters
Pop-up emitters are used in a wide range of residential drainage systems. For more information on these applications, explore the NDS home drainage center.
Downspout drainage systems
One of the most common applications is roof runoff management. Water from gutters flows through underground pipe and exits through the emitter at a safer location away from the home's foundation.
French drain systems
French drains often require a discharge point. A connected pop-up emitter provides a simple way to release collected groundwater or runoff.
Catch basin systems
Catch basins collect surface water and route it into underground pipes. Pop-up emitters often serve as the final outlet for these systems.
Yard drainage projects
Many homeowners install pop-up emitters to help manage:
- Standing water on lawns
- Low spots in the yard
- Water runoff from slopes
- Drainage in flowerbeds and around landscaping
Do pop-up emitters really work?
Yes. When properly installed, pop-up emitters are highly effective. Their performance depends on proper drainage system design and installation.
When pop-up emitters work best
Pop-up emitters perform well when:
- The pipe has proper slope
- Water can flow freely to the outlet
- The discharge area is properly graded
- The area around the emitter remains clear of debris
Common reasons they don't work
Most issues are caused by installation or maintenance problems rather than the emitter itself. Common causes include:
- Clogged drainage pipes
- Poor grading
- Inadequate slope
- Root intrusion
- Turf overgrowth
- Frozen outlets
When the system is designed correctly, pop-up emitters can provide years of reliable performance.
How to install a pop-up emitter
Installing a pop-up emitter is often one of the final steps in a drainage project. Refer to the manufacturer’s guidelines for complete instructions.
Materials needed
Typical materials include:
- Pop-up emitter
- Solid drainage pipe
- Pipe fittings, such as an elbow
- Drill (to add a weephole)
- Shovel
- Level
- Gravel
Step 1: Select the discharge location
The emitter should be located:
- Downhill from the collection point
- Away from foundations
- Away from neighboring properties
- In an area where water can disperse safely
Step 2: Dig the drainage trench
Excavate a trench that allows the pipe to maintain continuous downward slope. Consistent slope is critical for drainage performance. Contact local utilities to mark underground lines before digging.
Step 3: Drill weephole into elbow
The weephole should be made where the elbow turns. This turn should be facing downward. Note: You can also find pop-up emitters that come with the elbow which has an integrated weephole, or weep slot.
Step 4: Connect elbow and drainage pipe
Attach the solid drainage pipe to the emitter fitting according to pipe manufacturer specifications. Position the weephole or weep slot so it faces downward.
Step 5: Install the emitter
Position the emitter so it sits flush or slightly below the surrounding grade. Avoid burying the cap beneath soil or mulch.
Step 6: Test the system
Before backfilling completely, test it out:
- Run water through the system
- Verify proper flow
- Confirm the cap opens and closes properly
- Check for leaks
Installation checklist
✓ Proper slope maintained
✓ Secure pipe connections
✓ Positive drainage away from structures
✓ Emitter installed flush or slightly below grade
✓ Water flows freely through the system
Common pop-up emitter problems and solutions
Even well-designed drainage systems occasionally need maintenance. If you suspect other drainage components could use attention, check out our troubleshooting tips for lawn and landscape drainage.
Water isn't coming out
Possible causes:
- Pipe blockage
- Crushed pipe
- Insufficient slope
- Root intrusion
- Turf overgrowth
Solution
Inspect the drainage pipe and flush out the system to identify obstructions.
The cap stays open
Possible causes:
Dirt buildup
Damaged hinge
Misaligned cap
Solution
Clean the emitter and inspect moving parts for damage.
Water pools around the emitter
Possible causes:
- Poor grading
- Heavy clay soil
- Soil settlement
Solution
Improve grading around the outlet (also known as the emitter) to encourage water movement away from the discharge point.
Frequent clogging
Possible causes:
- Leaves
- Sediment
- Landscape debris
Solution
Instead of capturing water with drain pipe alone, install upstream collection devices such as a catch basin equipped with a filter and perform seasonal maintenance to clean out debris.
Pop-up emitters and winter freezing
One of the most common homeowner concerns is winter performance.
Can pop-up emitters freeze?
Yes. If water remains inside the emitter or discharge pipe during freezing temperatures, ice can form and block the outlet.
What happens when a pop-up emitter freezes?
A frozen emitter can cause:
- Restricted drainage
- Water backup
- Overflow at collection points
- Increased stress on drainage components
How to prevent freezing
Proper installation helps reduce freeze-related issues. Best practices include:
- Maintaining adequate pipe slope
- Keeping the outlet clear
- Removing debris before winter
- Inspecting after storms
- Ensuring water does not stand near the emitter
- Having a weephole at the bottom of the elbow fitting to drain out water left in pipes and prevent stagnation or freezing in cold weather
Winter maintenance checklist
Before freezing temperatures arrive:
✓ Remove leaves and debris
✓ Inspect the emitter cap
✓ Verify water flows freely
✓ Check discharge grading
✓ Confirm there are no pipe blockages
Regular inspections help prevent drainage issues during winter weather.
Pop-up emitter vs. open pipe outlet
Homeowners often compare pop-up emitters to traditional open pipe outlets.
Benefits of a pop-up emitter
- Cleaner appearance
- Reduced debris entry
- Better protection from intruding insects and animals
- Less visibility in the landscape
Benefits of an open pipe outlet
- Easier visual inspection
- Simpler maintenance
- Immediate visibility of water flow
Which option is better?
For most residential drainage systems, a pop-up emitter provides a better balance of performance, protection, and appearance.
When a pop-up emitter may not be the best solution
Pop-up emitters are highly effective, but they are not ideal for every situation. Alternative solutions may be needed when:
- The property is extremely flat
- There is no suitable discharge area
- Water cannot flow away from the emitter
- Soil infiltration is preferred
In these situations, homeowners may benefit from:
- Flo-Well® dry well systems
- Infiltration systems
- Alternative discharge configurations
Proper system design is essential to choosing the right solution.
Should I consider using multiple pop-up emitters on the property?
There are several good reasons to use multiple pop-up emitters rather than relying on just one. It can give you more flexibility, better performance, and a more resilient system.
Multiple drainage zones
If your property has several problem areas—like a soggy spot near the foundation, a low point in the yard, and runoff from a downspout on the other side of the house—a single emitter may not be able to handle the water coming from different directions or elevations. Separate emitters let you address each trouble spot independently.
Reduced water volume and pressure per emitter
Trying to push all your stormwater runoff through one outlet can overwhelm your system, causing slow drainage, backups, or water pooling near the emitter itself. Splitting the water across multiple emitters reduces the volume each one has to handle, so they work more efficiently and pop open more reliably.
Better dispersal, less erosion
Releasing all your drainage water from a single point can erode the surrounding soil or create a muddy patch right where it exits. Multiple emitters spread the water output across a wider area, minimizing concentrated erosion or pooling.
Redundancy
If one emitter gets clogged with debris or root intrusion, having other emitters on the property means water still has exit paths so your drainage system doesn't completely fail.
Long pipe runs
On larger properties, pipe runs from gutters or French drains can get quite long. Adding emitters at multiple points in the system prevents pressure loss or slow drainage that can happen when water has to travel too far to a single exit point.
Different discharge needs
Some emitters may need to release water onto a lawn, while others might discharge into a garden bed, gravel area, or slope. Using multiple emitters lets you tailor each discharge point to the surrounding landscape.
Frequently asked questions
What is a pop-up emitter used for?
A pop-up emitter serves as the discharge point for an underground drainage system, allowing collected water to exit safely at the surface.
Do pop-up emitters work?
Yes. When installed correctly with proper slope and drainage design, pop-up emitters provide reliable performance for many years.
Can a pop-up emitter freeze during winter?
Yes. Water trapped in the discharge area or pipe can freeze during extended cold weather.
Why isn't my pop-up emitter opening?
Common causes include debris buildup, pipe blockages, improper grading, or mechanical damage to the cap.
How far should a pop-up emitter be from a house?
The discharge point should be far enough away that released water cannot flow back toward the foundation.
Can I install a pop-up emitter myself?
Many homeowners successfully install pop-up emitters as part of DIY drainage projects, provided proper slope and discharge locations are maintained.
Can a pop-up emitter be connected to a French drain?
Yes. Pop-up emitters are commonly used as the discharge point for residential French drain systems.
Should a pop-up emitter sit above or below grade?
The emitter should sit flush or slightly below the finished grade to allow proper operation and drainage.
How do I prevent the lawnmower from clipping the pop-up emitter?
Set the emitter a bit below grade level. This creates enough clearance for the mower to pass over it without damage, while still allowing the unit to pop up and drain correctly when needed.
Is a pop-up emitter right for your drainage system?
A pop-up emitter may be one of the smallest components in a drainage system, but it plays an important role in helping water exit safely and efficiently.
Whether you're managing roof runoff, supporting a French drain, connecting a catch basin, or improving yard drainage, a properly installed pop-up emitter can help protect your property while maintaining a clean landscape appearance.
A leader in stormwater management, NDS offers a comprehensive line of proven drainage solutions including pop-up emitters, catch basins, drainage fittings, and other system components that help move water away from problem areas and support long-term drainage performance.
Explore the NDS website to learn more about our products and resources that can help you find the right solution for your next drainage project.
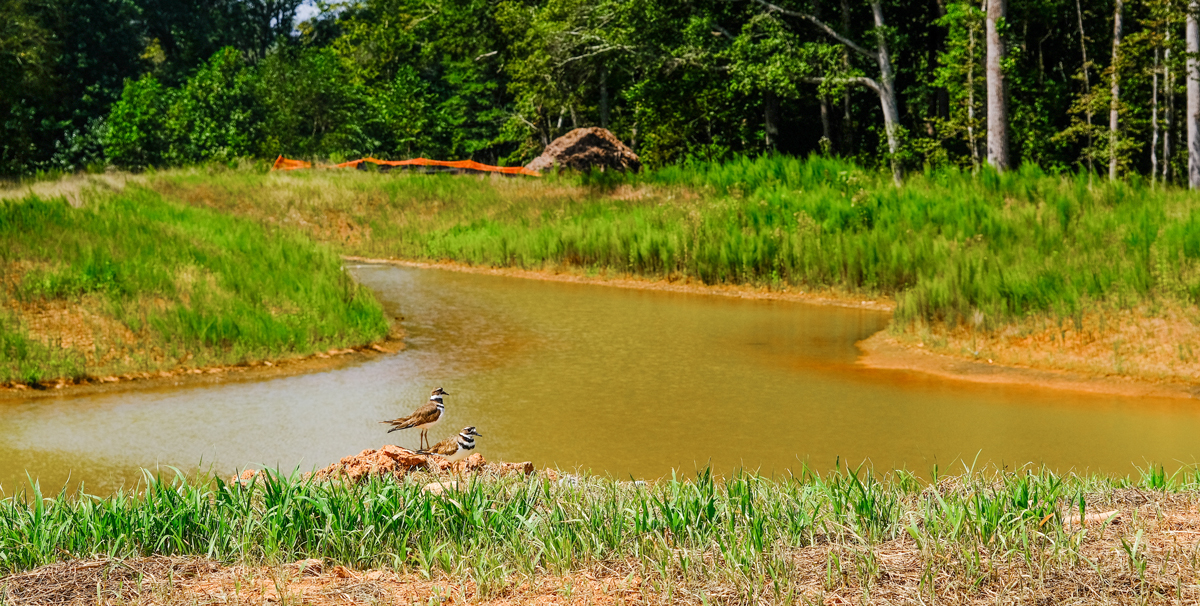
Explore the essential differences between retention ponds and detention ponds. Learn how each basin manages stormwater, impacting environmental and urban planning.
Read More
No more muddy paws, drenched flower beds, or splash guards that kinda work - we've got three easy drainage fixes that won't break the bank.
Read More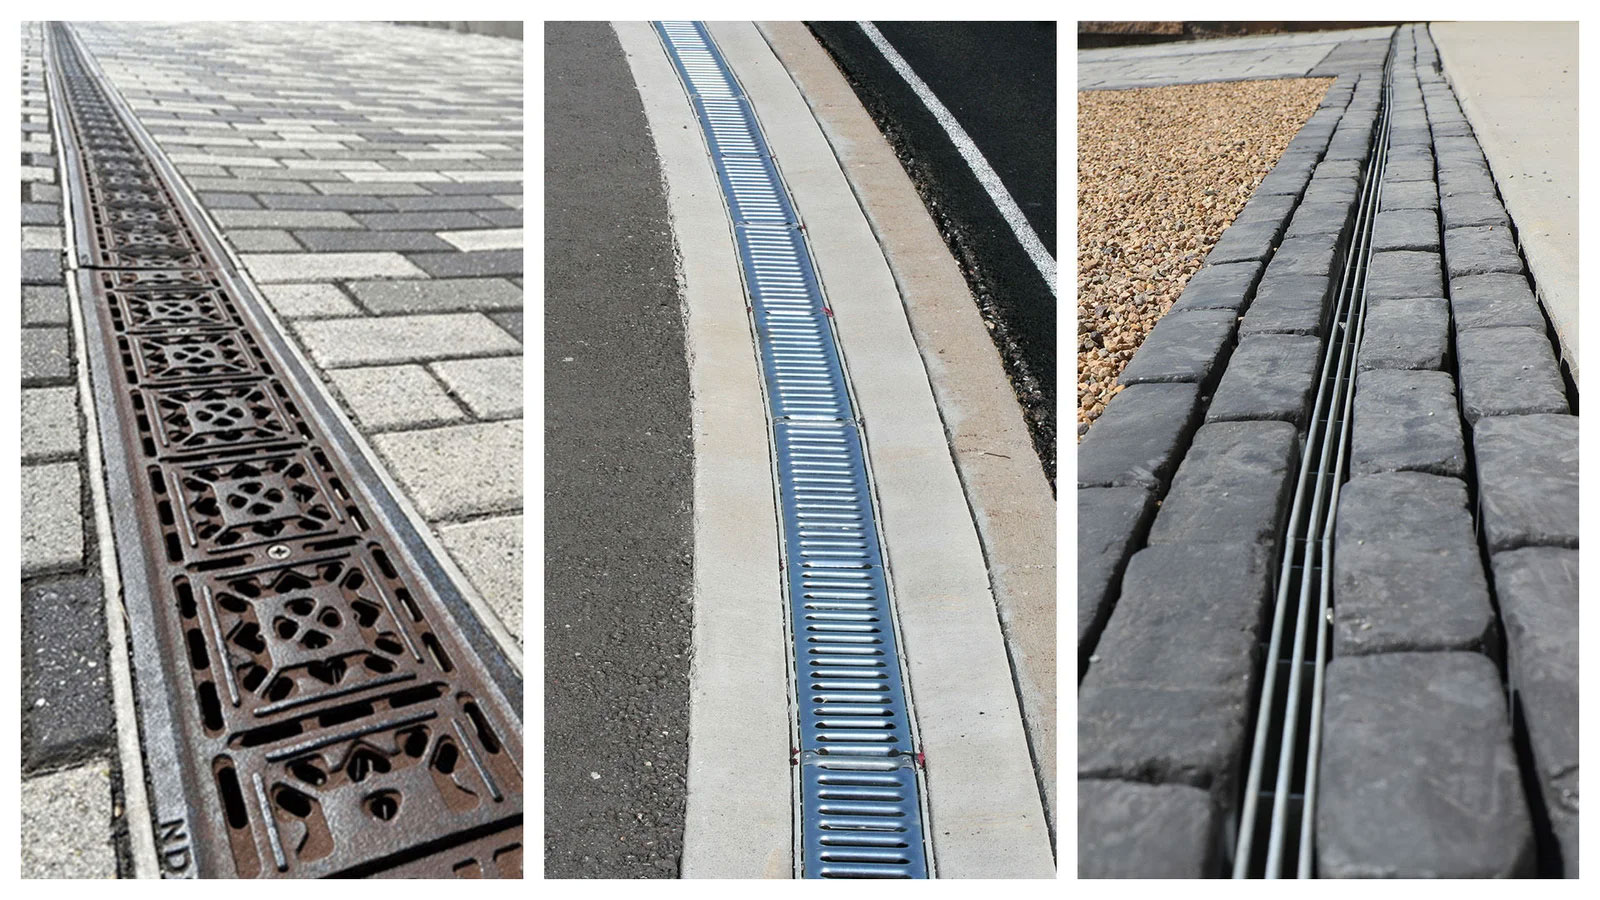
This guide covers the purpose and benefits of channel drains and how to install a trench or channel drain step by step.
Read More
Learn how to install a dry well with our guide and practical tips for managing yard drainage effectively.
Read MoreHave Questions? Need Help? Want to Know More?

Have Questions? Need Help? Want to Know More?
No questions are too big or small. Find out how NDS solutions experts can help you solve your water management problems. Call 800-726-1994 or contact us by clicking below.
Contact Us