
Channel Drain Installation: Step-by-Step Tips
This guide explains what channel drains are, their benefits, and how to install a trench or channel drain step by step.
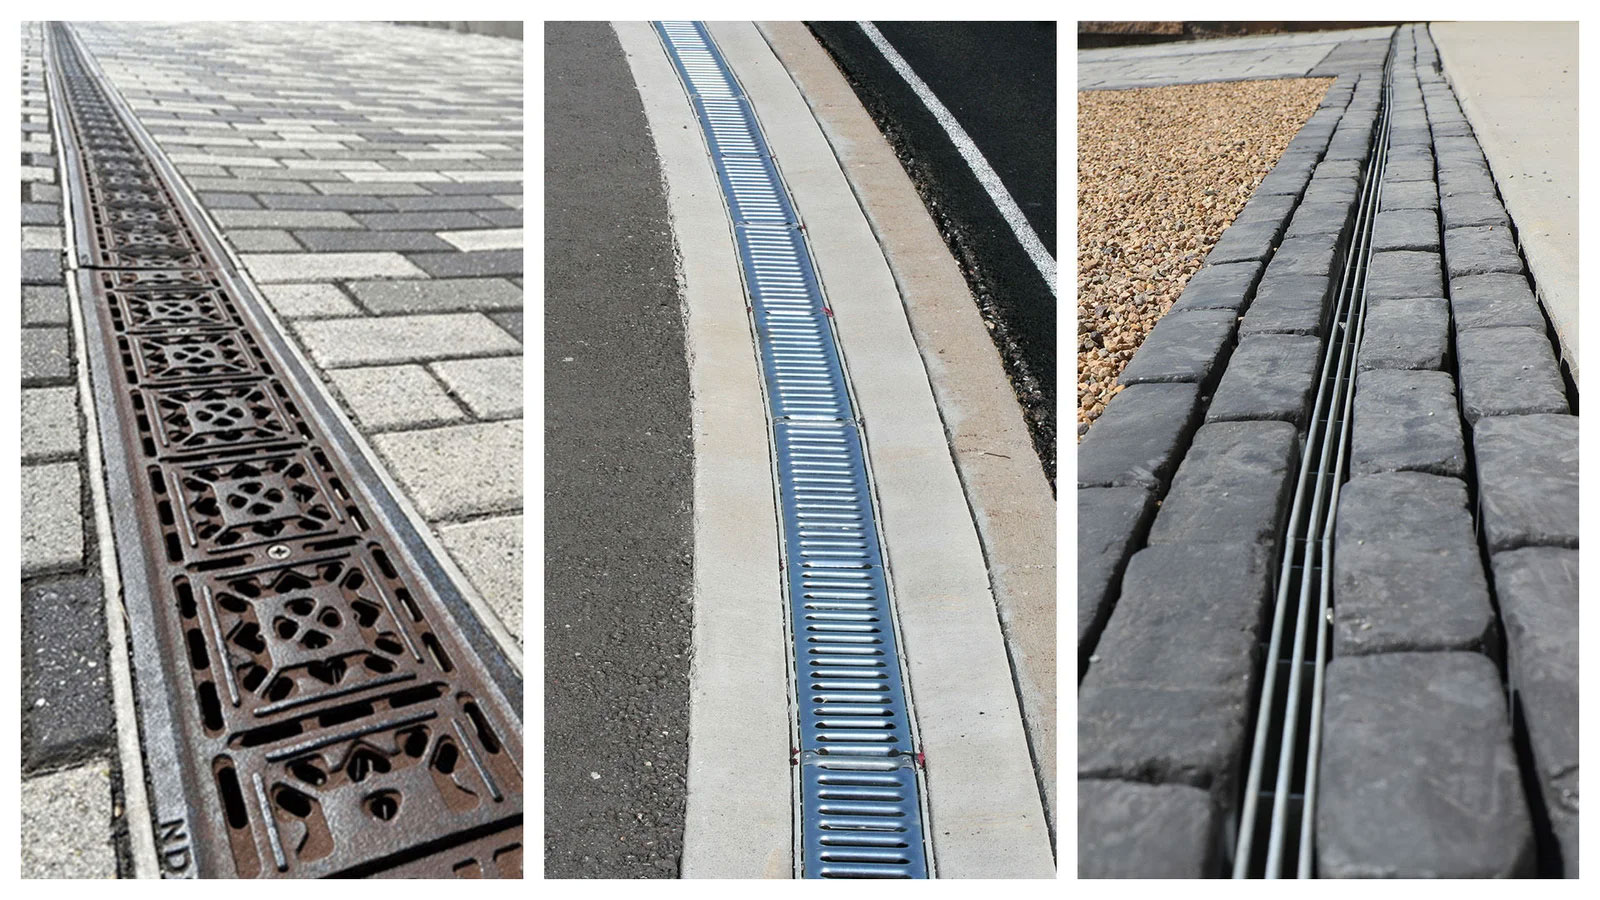
Surface water that pools on hardscape surfaces such as driveways, patios, or walkways can cause slippery conditions and property damage that can lead to costly repairs. A channel drain, also called a trench drain, provides an efficient way to intercept runoff and direct it safely away from your home. With the right planning and proper installation, you can keep paved areas dry, extend their life, and improve curb appeal.
Understanding Channel Drains
Definition and Purpose
A channel drain is a long, narrow drainage system set into the ground with a grate on top. Water flows into the drain and is directed through underground piping to a safe discharge point. Unlike point drains such as area drains or catch basins, channel drains capture surface water across a wide area, making them ideal for handling sheet runoff from stormwater flowing across roofs and hardscapes.
Types of Channel Drains, by Flexibility/Shape:
- Straight/rigid channel drains come in fixed-length, linear sections and are often used for driveways and patios
- Articulated channel drains, like the NDS Spee-D® Contour™ channel drain system, feature flexible, jointed sections that can curve or bend to follow irregular paths
- Curved/radius couplings such as the Dura Slope® EZ-Track™ radius couplings can be used in some channel drains to make curves
- Curved channel drain sections for specific radius applications like pools and circular driveway
Benefits of Channel Drains
- Prevent water intrusion into garages, basements, and entryways
- Reduce erosion and standing water on driveways, patios, and pool decks
- Manage high volumes of runoff efficiently
Common Applications
- Driveway channel drain installation to keep water from pooling at the garage door and causing erosion
- Patio or pool deck drainage to prevent puddles and slick surfaces
- Commercial sidewalks and parking areas where stormwater needs redirection
Planning Your Channel Drain Installation
Choosing the Right Channel Drain
Select a channel drain system based on expected water volume, load rating requirements, and preferred grate style. For driveway trench drain installation, choose a system designed to withstand vehicle traffic. Decorative grates, popular for patios and pool areas, come in a variety of designs and materials including plastic and metal. Some grate designs are heel-proof and ADA compliant.
Assessing the Area
Look at how water naturally flows across the surface. Your channel drain should be placed at the low point, perpendicular to water flow, and sloped toward the outlet. A 1–2% slope ensures water moves efficiently through the system. Check local building codes and call 811 or your local utility services to locate underground utility lines before you finalize your plans and begin digging.
Tools and Materials
- Channel drain sections and grates
- End caps and outlet adapters
- PVC or corrugated pipe for outflow
- Concrete mix (for driveways or heavy-load areas)
- Gravel, crushed stone, or aggregate
- Shovel, line level or laser level, string line, tape measure, saw, safety gear

Do You Have Standing Water Problems?
Our experts can answer your technical questions, help you design the right drainage system, and even provide step-by-step instructions.
How to Install a Trench or Channel Drain
Step 1: Prepare the Site
Mark the drain path where runoff collects. For new construction, plan the layout before pouring concrete. For retrofits, you may need to saw-cut existing concrete before excavation.
Step 2: Excavate the Trench
Dig a trench wide and deep enough for the channel sections plus a 4 in. concrete surround if vehicles will cross. Most drains need at least 4–6 in. below the grate surface for proper installation. In hot areas, allow a 1/8 in. gap between grates to accommodate expansion. Stretch a taut string line between stakes at each end of the planned drain run to facilitate slope measurements.
How deep should a channel drain be?
The exact depth depends on the drain profile and jobsite. About 1 in. of fall every 8 ft. is needed to achieve a 1% slope. Some channel drain systems, like the NDS Dura Slope® channel drain and BG-FILCOTEN® concrete trench drain, offer pre-sloped options to simplify installation because the fall is already built into the channel. If cars will drive over it, the channel must be fully supported by a 4 in. concrete base and the grate should be recessed 1/8 in. to 1/4 in. When car traffic is not a factor, grates should sit flush with the finished surface.
Step 3: Set the Channel Drain in the Trench
When setting the drain in the trench, compacted gravel or concrete can be used to hold it securely in place and ensure the correct elevation and slope are maintained. For driveways or high-traffic areas, concrete provides the necessary structural support to withstand heavy loads and help prevent shifting. For light-duty applications like garden paths, a gravel base is generally sufficient. There are several ways to prepare the trench for this step, but it’s always a good idea to follow the installation instructions for your specific channel drain system.
Gravel method: Prepare the trench with a base of gravel, crushed stone, or aggregate, using a hand tamper to compact it.
Suspension method: This approach involves building a temporary wood support structure above the trench to hold the channel in place while concrete is poured.
Rebar method: Also known as the pinning method, this technique uses steel rebar to anchor the channel before pouring concrete. Some channel drain systems include built-in clips specifically designed to accommodate rebar.
Can you install a channel drain in existing concrete?
Yes, adding a channel drain to an existing concrete hardscape can be an effective way to help improve stormwater management. Cut the concrete along the planned path, excavate, then set the channel drain in fresh concrete. This is common for garage or driveway retrofits.
Step 4: Connect to the Drainage System
Attach the outlet adapter to connect the channel drain to PVC or corrugated pipe. Direct water to a pop-up emitter at a safe discharge point or to a dry well designed to temporarily hold the water and slowly release it into the ground.
Step 5: Backfill and Finish
In pedestrian areas, backfill the trench with gravel or concrete around the drain to lock it in place. Ensure the grate sits level with the surrounding surface for smooth transitions and safety. For areas with vehicle traffic, a 4 in. concrete surround (on both sides and underneath) is required, and the grate should sit 1/8 in. to 1/4 in. below the level of the adjacent surface.
Maintenance and Cost Considerations
- Channel drain installation cost varies by length, material, and site conditions. Simple patio projects may be affordable DIY jobs, while driveway trench drain installation often requires professional labor due to saw-cutting and concrete work.
- To maintain performance, remove grates periodically and clear out debris. Flush the system with water to prevent buildup.
Conclusion: Reliable Drainage with Channel Drains
Whether you’re tackling a driveway channel drain installation or adding drainage along a patio, a properly installed channel drain can offer long-term protection against pooling and erosion. With careful planning, the right materials, and proper installation, you can manage water effectively and help protect your property from stormwater damage.
Explore NDS channel and trench drain solutions to find the right system for your project.
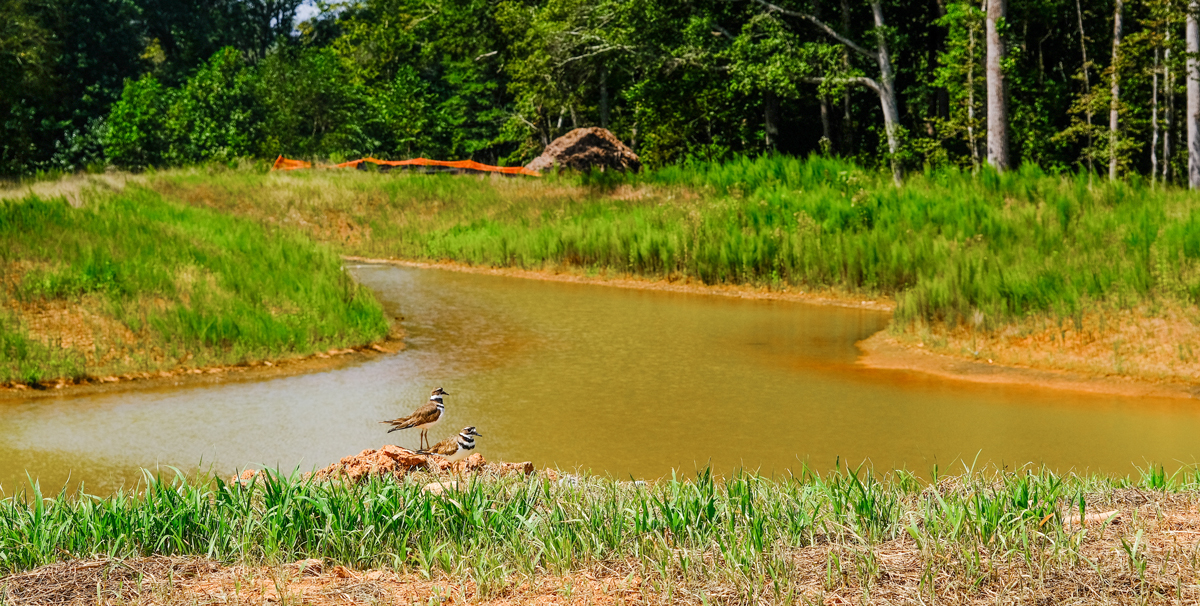
Explore the essential differences between retention ponds and detention ponds. Learn how each basin manages stormwater, impacting environmental and urban planning.
Read More
No more muddy paws, drenched flower beds, or splash guards that kinda work - we've got three easy drainage fixes that won't break the bank.
Read More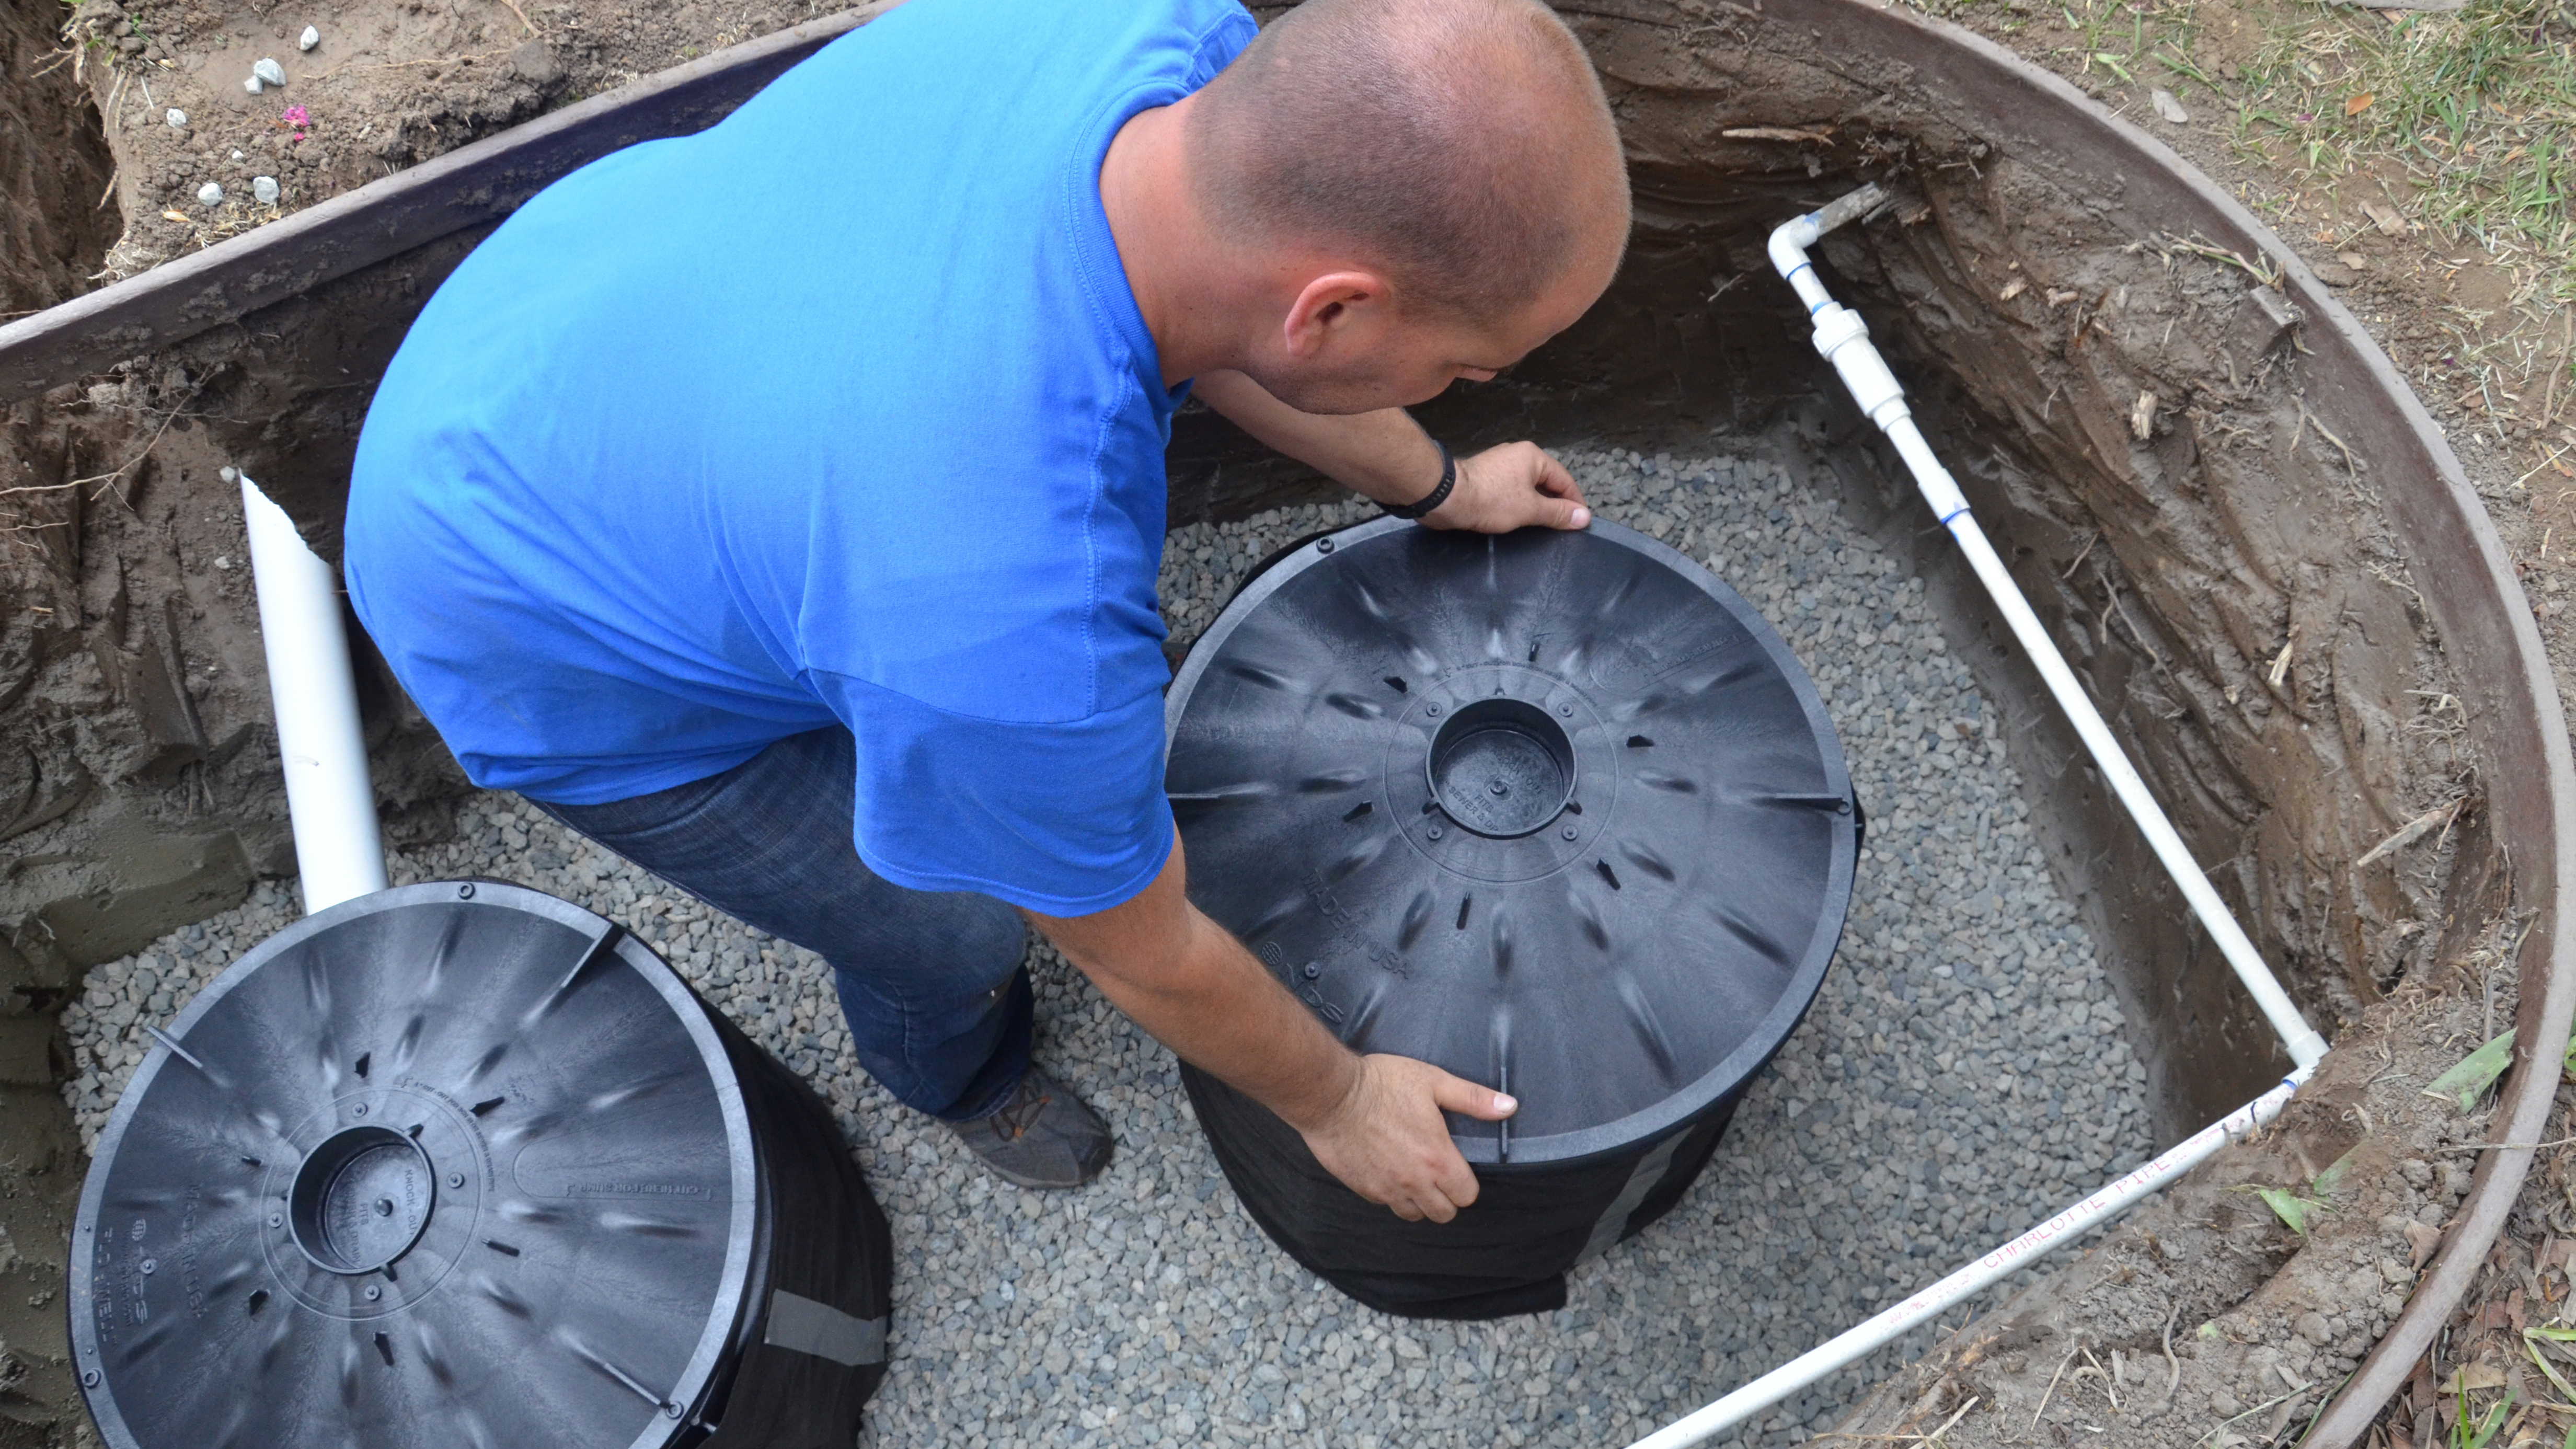
Learn how to install a dry well with our guide and practical tips for managing yard drainage effectively.
Read More
Learn about drip irrigation, its key components, benefits, and future trends for smarter, water-efficient landscaping.
Read MoreHave Questions? Need Help? Want to Know More?

Have Questions? Need Help? Want to Know More?
No questions are too big or small. Find out how NDS solutions experts can help you solve your water management problems. Call 800-726-1994 or contact us by clicking below.
Contact Us