
Residential Stormwater System Installation: How-To Guide
Create an effective drainage system to manage stormwater around the home.

Water-related problems are common in residential areas: about 1 in 60 insured homes file a water damage claim each year. If water regularly pools against your foundation, turns your side yard into a muddy channel, or sheets down the driveway toward your home or into the street, your home needs a stormwater management system.
In this guide, you will learn how a stormwater drainage system works, the benefits you can expect, and how to install a residential drainage system step by step. You will also see the materials you need, some budgeting guidance, and answers to common questions.
How residential stormwater systems work
A residential stormwater system is a network that handles roof runoff and surface water from driveways, patios, lawns, and low spots. At a basic level, the system follows a simple sequence: collect water where it falls, convey it through drain pipe, and either store or infiltrate it on site, or provide a safe overflow path to release the water downstream.
Typical drainage components include: surface inlets such as channel drains and catch basins, downspout adapters, solid or perforated pipe, filtration fabric, and storage or infiltration units such as dry wells including the NDS Flo-Well® dry well or an engineered French drain like the EZflow® gravel-free French drain system.
The purpose of a stormwater system
- Foundations. Proper drainage prevents water intrusion and relieves hydrostatic pressure, helps keep basements and crawl spaces dry, and limits frost heave and slab cracking in cold climates.
- Hardscapes. Keeps water from pooling under pavers, patios, and retaining walls, which prevents base erosion, settling, freeze-thaw heaving, and the cracks and shifting that follow. Reduces growth of mold and mildew, and potential insect breeding grounds.
- Landscapes. Controlled runoff avoids erosion rills, mulch washouts, or waterlogged planting beds that stress roots.
- Neighborhoods. Captures downspouts and intercepts driveway runoff to reduce nuisance flooding, winter ice sheets, and sediment washing into streets.
Benefits of proper installation
- Protection for structures. Routing downspouts into inlets and piping runoff away lowers the chance of seepage, splash-back on siding and doors, and moisture cycling that rots fascia and trim.
- Better hardscape performance. Patios, walkways, and driveways last longer when subgrades are not repeatedly saturated.
- Code and community alignment. Many jurisdictions prefer on-site infiltration or detention as part of residential drainage solutions. Choosing products designed for residential use helps you align with local standards while improving site resilience.
Do You Have Standing Water Problems?

Do You Have Standing Water Problems?
Our experts can answer your technical questions, help you design the right drainage system, and even provide step-by-step instructions.
Ask an ExpertInstallation process overview
Below is a clear, homeowner-friendly sequence you can follow if you’re wondering how to install a stormwater management system.
1) Map runoff sources
Walk your property during or right after a rain. Note roof lines and downspouts, driveway and patio slopes, lawn low spots, and where water puddles and exits. Sketch these on a simple site plan. Identify safe discharge locations such as daylight outlets or approved connections.
2) Check soil and groundwater
If planning to infiltrate runoff, do a quick field infiltration test. Dig a test hole where you plan to infiltrate, fill it with water to pre-soak, then refill and time how quickly the water drops. This gives a sense of whether infiltration is feasible or whether you should plan for detention and slow release. For formal projects or clay soils, consult local guidance or a professional.
3) Call before you dig
Contact 811 or your state’s 811 center website a few business days before excavation so utilities can be marked. Respect tolerance zones around marks and hand dig as required. This step protects you and is often required by law.
4) Establish setbacks and clearances
Note distances from foundations, property lines, trees, wells, and septic systems per your local code. Keep infiltration features away from basements where groundwater could cause problems.
5) Size for local storms
For small projects, many homeowners use a rule of thumb or local guidance for a one-inch, 24-hour design storm with a safety factor. Pros will calculate volume based on contributing roof and pavement areas, hydrologic soil group, and can work with you to find the right approach.
6) Choose your strategy
- Infiltration. Preferred where soils accept water. Dry wells are a common solution for downspouts.
- Detention with slow release. Store runoff temporarily and release it through a small orifice or to a lower-risk area.
- Daylight discharge. Use gravity to send flows to a stable outfall such as a swale, spreader, or other safe discharge point.
Materials and product choices
You can assemble a residential system with common, proven components:
- Surface collection: Channel drains across driveways or patio edges; catch basins at low spots; downspout adapters with debris strainers into a capture device or drain pipe.
- Pipe: Smooth-wall PVC or SDR-35 for long gravity runs; corrugated HDPE for flexibility; perforated pipe for under-drain or French drain sections or with a gravel-free French drain system.
- Geotextile: Non-woven fabric for separation and filtration where you want to keep fines out of stone reservoirs or the storage system.
- Aggregates: Washed stone for bedding and reservoirs; do not use construction debris or dusty fill.
- Dry wells: Modular units such as the NDS Flo-Well dry well that store runoff underground and can be wrapped with fabric and stone when soil support or more storage volume is needed.
Pipe slope matters
Gravity is your friend. For reliable flow in a smooth-wall pipe, aim for a continuous minimum slope of about 1 percent, or 1⁄8 inch per foot. Corrugated pipe may require a bit more slope.
Step-by-step residential stormwater system installation
The steps below show how to install stormwater drainage at the residential scale, then connect it to an infiltration or detention feature or a storm sewer system, which is a network of underground pipes, inlets, and manholes that carries stormwater away from streets and properties, usually to a creek, river, or retention pond. It's typically owned and maintained by a municipality, and it's separate from the sanitary sewer, which carries wastewater to a treatment plant. If you’re curious about how to install a storm sewer or stormwater system, here’s the homeowner-friendly version.
Step 1: Layout and elevations
Set stakes and pull stringlines for your pipe runs. Identify your high point where water enters and a low point where it exits or enters a dry well. Use a level or laser to verify a continuous fall along the route so you maintain your target slope.
Step 2: Excavation and bedding
Excavate trenches wide enough for pipe and compaction tools. Install a firm, level bedding of compacted native soil or clean granular material. Bedding supports the pipe and helps you hold a consistent slope. For thermoplastic pipe, most installation guides call for proper bedding plus side-haunching with compacted stone to prevent ovaling.
Step 3: Install surface collectors
- Downspouts: Fit adapters and debris filters that keep leaves out of the piping system.
- Catch basins and filters: Place at low spots to intercept sheet flow across lawn or hardscape.
- Channel drains: At garage doors, set the channel slightly below the surrounding surface so the grate sits flush or just slightly recessed. A grate that stands proud gets hit by tires and plows. At patio thresholds, set the channel drain to finished grade and ensure it ties into your conveyance pipe.
Step 4: Lay pipe and make connections
Start at the high end and work downhill. Dry-fit all components, then solvent-weld or gasket as specified. Keep joints clean and fully seated. Maintain slope with compacted bedding and spot checks using your level or laser.
Step 5: Build the infiltration or detention feature
For a dry well system built with modular units such as the NDS Flo-Well dry well, the process is straightforward: assemble the panels, excavate the pit and feeder trench, set the unit level, connect inflow pipe, and backfill evenly with recommended stone or sand. Keep the top at least several inches below grade and use a surface inlet or inspection point if needed for maintenance. Follow the manufacturer’s guidance.
Step 6: Backfill and compact
After inspection, place and compact backfill in lifts along both sides of the pipe to lock it in place. Avoid large rocks directly against pipes. Bring the trench to finished grade with topsoil or the subbase required under hardscape.
Step 7: Provide a safe overflow
No system is infinite. Provide a high-water path that bypasses storage during extreme storms. Options include an overflow fitting on the dry well that pipes to daylight or a stabilized swale or dispersion trench.
Step 8: Surface restoration
Rake and seed turf areas. Replace mulch with a shallow layer and place edging where needed so bark does not migrate into surface inlets. For hardscape, restore compacted base and bedding before reinstalling pavers or slabs.
What you need: materials checklist
- Channel drains, catch basins, and grates sized for expected flows and loads
- Downspout adapters and debris strainers
- PVC or HDPE pipe and fittings, glue or gaskets
- Non-woven geotextile for separation where specified
- Washed aggregate for pipe bedding and stone reservoirs
- Dry well modules and accessories such as the Flo-Well dry well
- Cleanout risers and caps for maintenance access
- Tools: trenching tools, laser or builder’s level, compactor, saw, PPE
How much it costs
Costs vary by yard size, soil, distance to discharge, and whether you install infiltration, detention, or simple conveyance. National data for common residential drainage solutions show a wide range.
As a reference point, French drains and yard drainage often run in the low tens of dollars per linear foot for straightforward work, while complex projects with stone reservoirs or long pipe runs can reach several thousand dollars (Angi, 2025). National averages reported for French drains commonly fall in the mid four figures, with project ranges from a few hundred to many thousands, depending on scope and access.
Labor rates and restoration needs influence totals as much as materials. You can also check pricing locally.
Installation tips from the field
- Prefilter where you can. Use leaf strainers at downspouts, grates such as the Downspout Defender® grate, and debris baskets in catch basins to keep lines clear.
- Avoid sand backfill around infiltration units. Use clean stone and fabric to limit fines migration.
- Mind the driveway. Where cars cross, use channel drains and pipes with sufficient cover and strength.
- Slope is subtle. One percent is only about 1 inch of drop over 10 feet. Check and recheck with a level while backfilling.
- Document your system. Photograph buried components and measure from fixed landmarks to aid future maintenance.
Connecting downspouts to a dry well
- Capture each downspout in a short lateral run that drops to a yard catch basin or directly into the pipe.
- Combine laterals into a main line that slopes to the back yard.
- Install a dry well sized for your roof area and soil. With modular units, you can stack or link multiple wells to achieve volume. Assemble the units per manual, connect the inlet, set level, and backfill evenly. Provide an overflow to daylight or a stabilized swale.
Ongoing care
- Inspect surface inlets after storms and in the fall. Remove leaves and sediment.
- Flush accessible lines if you notice slow drainage.
- Check the dry well’s inspection port, if present, and monitor after a rain.
- Keep mulch and soil berms from washing into grates.
- Maintain a planting buffer or crushed stone band around downspout splash zones to reduce sediment.
FAQs: frequently asked questions
What is the correct sequence of steps in a stormwater management system?
Capture water at the source, convey it through sloped pipe, store or infiltrate on site where feasible or discharge water safely downstream. Give large storms a safe overflow route that bypasses storage and protects structures.
Should I bed pipes or modules on gravel or native soil?
Follow product guidance and your soil conditions. Provide a firm, uniform bedding and side-haunching for the pipe so it cannot shift or oval. Clean granular backfill is preferred for strength and to avoid migrating fines. For modular storage, set level and backfill evenly with recommended stone or sand per the installation manual.
How do I assemble and backfill around Flo-Well modules?
Assemble the side panels and top per the product manual, set the unit in an excavated pit with a level base, connect your inflow pipe, then backfill evenly around the module with the specified material. Keep the top buried several inches below grade. Add fabric and stone around the well if your design calls for more storage and soil separation. Use a surface inlet on top to collect surface water.
Where should I place cleanouts for future maintenance?
Install vertical cleanouts at the ends of long runs, at junctions where laterals enter a main, and near the transition into a dry well. Make them accessible under a cap or small grate in turf or mulch.
What is the best way to restore turf or mulch after installation?
In lawns, replace topsoil, rake, seed, and roll lightly. Water until established. In beds, reinstall weed fabric where appropriate and replace only a thin mulch layer so you do not bury grates. Maintain a stone or mulch buffer around inlets to reduce sediment input.
What are common pitfalls to avoid during installation?
Shallow or flat pipe runs that lose slope, burying inlets under mulch, placing infiltration too close to basements, skipping 811 utility locates, and omitting an overflow. Check slope during backfill, use debris strainers, respect setbacks, and always call 811 before you dig.
Glossary snapshot
- Catch basin: Surface inlet that collects runoff and traps debris in a sump.
- Channel drain: Linear surface inlet with a grate along driveways or patios.
- Dry well: Underground chamber that stores runoff and allows infiltration.
- Daylight outlet: A pipe that discharges to a visible, stabilized outlet.
- Detention: Temporary storage with controlled release.
Build a stormwater system that works
Start with a simple plan that follows the flow of water. Capture it at the source, give it a smooth path through sloped pipe, store or infiltrate it on site when you can, and plan a safe overflow. Choose components that are designed for residential projects, install them carefully, and keep inlets clean so the system runs for years.
Explore NDS residential stormwater management solutions, from catch basins and channel drains to Flo-Well dry wells and EZflow French drains.
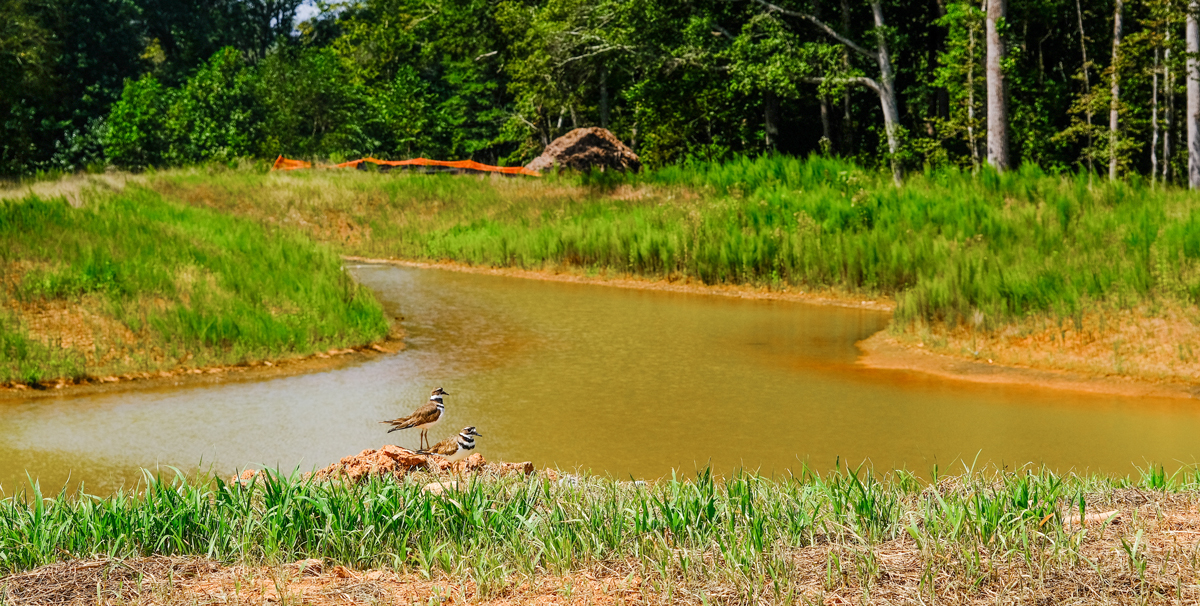
Explore the essential differences between retention ponds and detention ponds. Learn how each basin manages stormwater, impacting environmental and urban planning.
Read More
No more muddy paws, drenched flower beds, or splash guards that kinda work - we've got three easy drainage fixes that won't break the bank.
Read More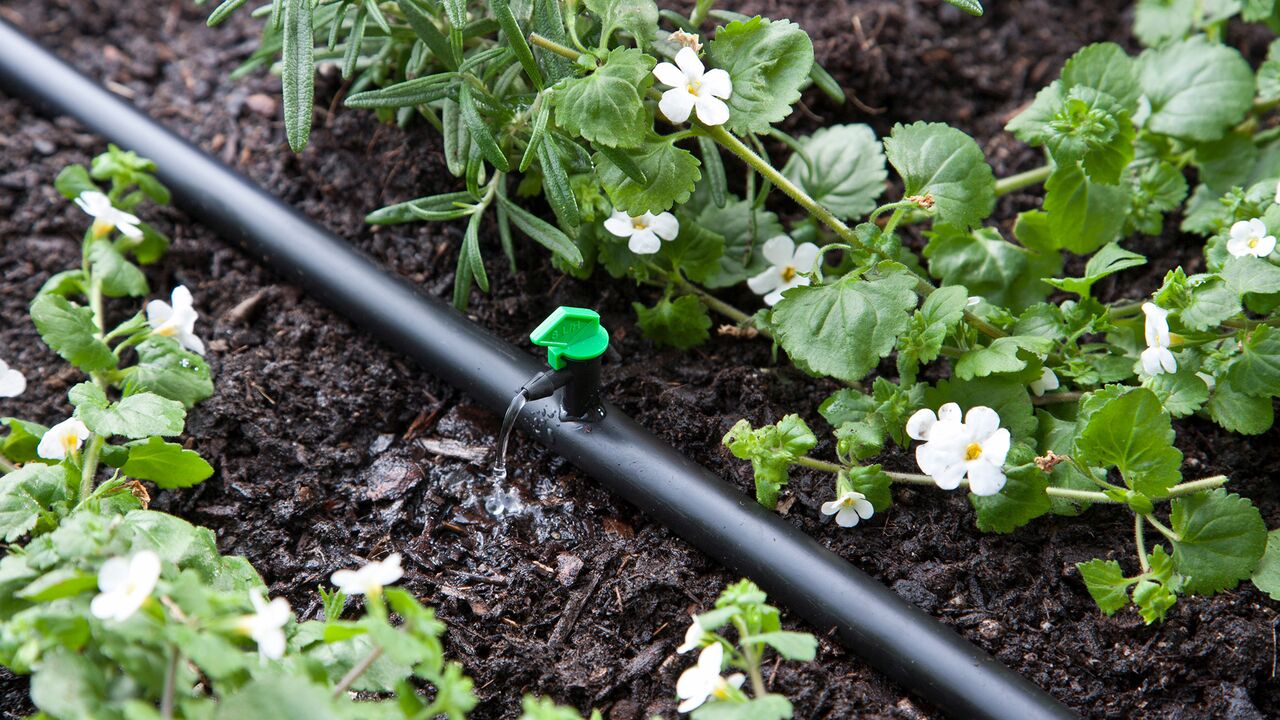
Discover what drip irrigation emitters are, how they work, and shop a wide selection of drip irrigation emitters to improve your garden's water efficiency.
Read More
Discover the best ways to save water in your lawn and garden with simple irrigation upgrades, soil improvements, and water-smart landscaping tips.
Read MoreHave Questions? Need Help? Want to Know More?

Have Questions? Need Help? Want to Know More?
No questions are too big or small. Find out how NDS solutions experts can help you solve your water management problems. Call 800-726-1994 or contact us by clicking below.
Contact Us